
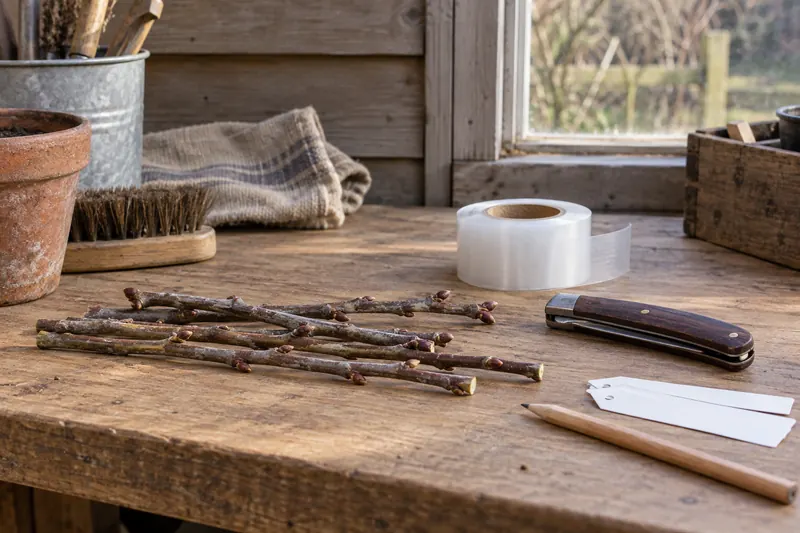
To graft a fruit tree, join a healthy scion to a compatible rootstock, align their cambial tissues, secure and seal the join, then protect it as it grows. Start with one named pairing and one method. This guide explains the decisions and includes a dormant apple bench-grafting example; summer budding and larger-tree topworking need different procedures.
Grafting preserves the selected fruit variety while allowing a choice of root system. Growing a seed from a named apple does not reliably reproduce that same variety. See UNH Extension’s home-orchard grafting guide for that distinction.
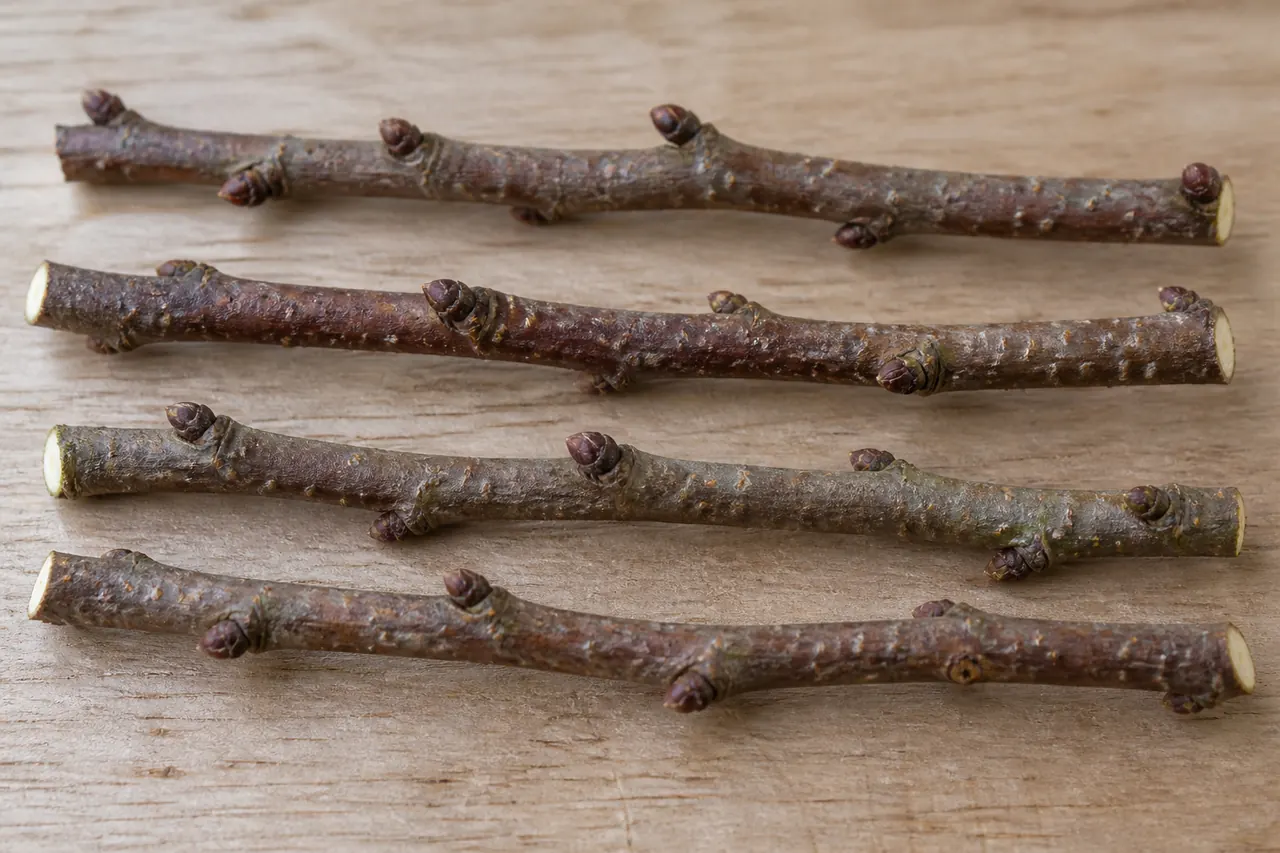
Scion, rootstock and cambium: what are you joining?
- Scion
- The selected shoot that supplies the new variety’s top growth. A bud graft uses a single bud instead of a multi-bud stick.
- Rootstock
- The plant supplying the root system and the lower part of the grafted tree.
- Cambium
- A thin growth region between inner bark and wood. The relevant tissues of both pieces need contact at the join.
Definitions: Mississippi State Extension, Basic Grafting Techniques.

1. Check scion and rootstock compatibility
Know both identities before cutting. Being in the same botanical family—or even genus—does not prove a durable combination. A group-level rule is only a starting screen; some cultivar and clone combinations need more specific evidence or a compatible interstem.
Check your pair below or open the full compatibility reference. “Not covered” means we do not have a reviewed answer for the selection; it does not mean incompatible.
2. Match the method to the material and growth stage
| Method | Typical decision context | What to verify |
|---|---|---|
| Splice / whip-and-tongue | Similar-diameter material that can be cut and bound securely. | Healthy material, accurate matching surfaces and the skill to make tongue cuts safely. |
| Cleft | A smaller scion and a larger stock or limb. | Appropriate stock diameter and condition, stable placement and at least one aligned cambial edge. |
| Bark graft | Topworking suitable larger material when bark separates readily. | Actual bark slip, the complete crop-specific procedure and support for later growth. |
| Chip budding | A suitable mature bud and a method-specific chip cut. | Correct bud material and fit. Its bark-slip requirements differ from T-budding. |
| T-budding | Suitable mature buds and actively separating rootstock bark. | Actual bark slip and the correct handling of the bud shield. |
Method references: Missouri Extension’s grafting illustrations and its budding guide. “Bark slipping” means bark lifts readily from the wood; it is an observed growth condition, not a date on a calendar.
The method selector narrows the choices; the caliper calculator compares the outside diameters. Neither can see bark thickness or confirm the finished cut.
3. Prepare, cut, align and secure
- Identify and label. Record scion cultivar, source, rootstock, date and method before pieces are mixed on the bench.
- Check condition. Use material appropriate to the crop and procedure. Reject poorly identified or visibly damaged material; do not assume apparently healthy wood is certified pathogen-free.
- Prepare the work area. Use a suitable maintained blade and a safe cutting position. Practise on expendable wood first.
- Follow one complete procedure. Avoid mixing a cut from one technique with the aftercare of another. Protect exposed cut surfaces from unnecessary handling and drying.
- Locate the cambial edges. Matching outside diameters do not guarantee matching tissue positions. When diameters differ, centering a small scion can leave neither edge in useful contact.
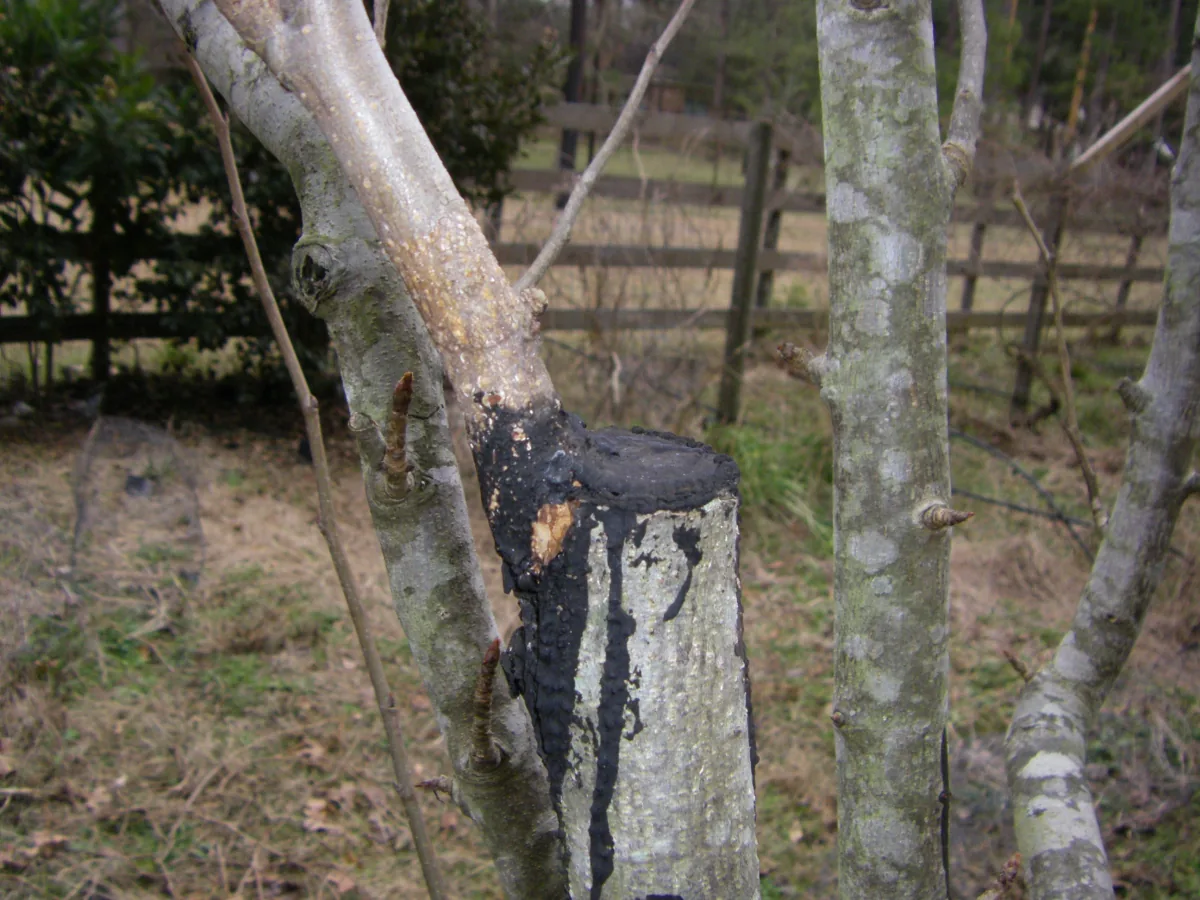
- Secure and seal as the method requires. Keep the pieces stable without crushing tissue. A thin moisture barrier is not automatically structural support; a strong binding material is not automatically a seal.
Worked example: a dormant apple whip-and-tongue graft
This example summarizes Penn State’s illustrated bench-grafting demonstration. Use its complete demonstration for the cutting motion and subsequent handling, and learn knife control on spare wood before using valuable scions.
- Select dormant scion and rootstock of similar diameter; keep two or three buds on the finished scion.
- Make matching sloping faces, about 1–2 inches (25–51 mm) long in this procedure.
- Make the additional tongue cuts, starting roughly one-third down each face. Penn State describes them as about half the first cut’s length.
- Interlock the tongues and check cambial contact before wrapping. If diameters differ, prioritize one aligned side rather than centering the smaller piece.
- Bind the join securely and seal exposed areas using suitable grafting materials. Label the tree and follow the demonstration’s cool, moist holding and nursery-care sequence.
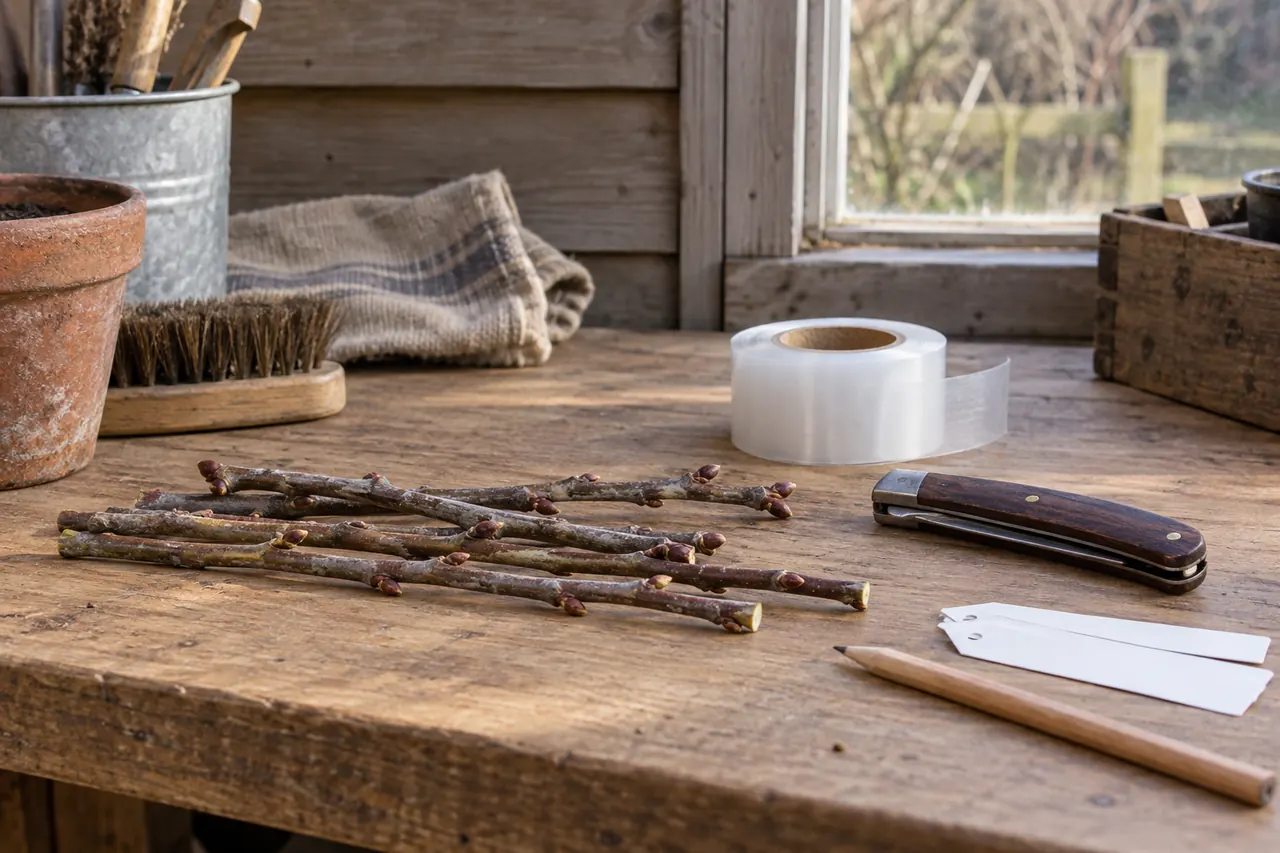
Set up before cutting: put labelled material, a maintained grafting knife, the chosen binding/sealant, labels and your observation sheet within reach. Keep hands and your body out of the blade’s travel. If you cannot make the tongue cut under control, stop and get hands-on instruction; a text summary cannot check your grip.
4. Keep storage and callusing instructions separate
Dormant scions waiting to be used and newly assembled grafts are not necessarily managed identically. Record whether a temperature refers to the refrigerator, room, root zone or union. Use a crop- and method-specific protocol; a month, hardiness zone or thermostat number alone is insufficient.
See how to store scionwood and what a grafting-temperature reading can tell you.
5. Inspect the graft without disrupting it
Check binding pressure, drying, physical movement, competing rootstock growth and support. A growing shoot may need protection from wind or other damage. The correct response depends on the crop, method and actual conditions—not a universal “remove at 60 days” rule.
Do not repeatedly flex or unwrap a healing join to test it. New bud growth can use stored reserves. Keep observations over time, and get crop-specific advice when there is constriction, decay, persistent drying or an unstable union.
| Observation | First check | Practical next action |
|---|---|---|
| A gap opens in the sealing layer | Exposed cut tissue and displaced wrapping. | Follow the material’s repair instructions without pulling the join apart. |
| The new shoot is moving in wind | Support and the attachment point, not just leaf growth. | Protect the young growth; do not use a bending test to decide whether it has healed. |
| A band makes an indentation | Whether the exact binding material expands or degrades. | Arrange careful adjustment or removal appropriate to that material while preserving support. |
| Buds open, then the scion declines | Material condition, alignment, moisture loss and disturbance. | Record the sequence before choosing a remedy. This observation alone does not identify one cause. |
The first three checks reflect the sealing and aftercare issues discussed by Missouri Extension and UNH Extension. The table is a triage aid, not a diagnosis from a photograph.
Common questions
Is splicing a tree the same as grafting?
People sometimes use “splicing a tree” informally for joining a scion to rootstock. A splice graft is also a particular technique using matching sloping cuts; it is not the same cut as a whip-and-tongue graft, which adds interlocking tongue cuts. Start by identifying the technique rather than assuming any two cut branches can be joined.
Can I graft any fruit onto any fruit tree?
No. Fruit type and shared family names are not enough. Verify the scion/rootstock pairing and distinguish a documented compatible combination from an uncovered one.
Is spring always the right time?
No single date fits every species, region and method. Dormancy, mature bud availability and actual bark slip are more useful than copying another grower’s month.
Which tape should I buy?
Identify the sealing and binding functions your method requires, then compare materials. Our Buddy Tape vs Parafilm guide includes an adjustable quantity and batch-cost calculator.
Print free labels, a storage checklist and an aftercare log so the next decision is based on an identified tree and recorded observations.
Check a scion and rootstock before your next graft
Use this source-linked screen after choosing your material. For all covered combinations, open the dedicated compatibility reference table.
Fruit Tree Graft Compatibility Checker
Check reviewed scion and rootstock combinations before cutting; unsupported pairs are clearly labelled instead of receiving an invented score.
Enter your details
Formula, assumptions, worked example and sources
How this tool works
Botanical relatedness is an important screening factor, but genus alone does not prove long-term compatibility. Cultivar, rootstock clone, health, environment, and delayed incompatibility can change the outcome. Pear on quince may require a known-compatible interstem.
This screens the selected botanical groups and reviewed pairs. It cannot verify cultivar identity, plant health, bark alignment or your growing conditions. A documented pairing still needs suitable material and crop-specific technique; no universal temperature window is supplied.
Open the full tool, reference notes and questions →